

Intrusive ads highly compromise my browsing experience because they force me to pause or wait for the ad to finish. Aside from the disruption, these ads can also pose potential security threats.
I looked for a way to block these ads and protect my mobile device. One of the recommended solutions I found is using the Blokada app. It is a dedicated ad blocker with a list of blacklisted URLs.
Learn more about the Blokada app and its features below. Discover how I use the Blokada app for a safe and ad-free browsing experience.
Discover the Blokada App
Ads take up some of my time while browsing because sometimes I have to wait for the video to finish, wait for a specific time to skip them, or have to close them and return to the original site as it led me to another website.
The time wasted because of ads affects my browsing experience. I wanted to have an ad-free experience when browsing online. Fortunately, I discovered the Blokada app, a free app that uses Domain Name System (DNS) servers to give me a better browsing experience.
The Blokada app makes browsing better because I only see the content that I want to see. Aside from blocking ads, the app also offers a way to blacklist URLs and create a local VPN.
The better browsing experience that the Blokada app promises covers a disruption-free experience and a safe one. It has several security features that I can freely use to protect my privacy while browsing.
Downloading the Blokada App
I heard about the Blokada app when my friends started using it because they discovered how effective it is for safe online browsing. I did a background check on the app and learned that it has been available in the market since 2018 and has over 1 million downloads.
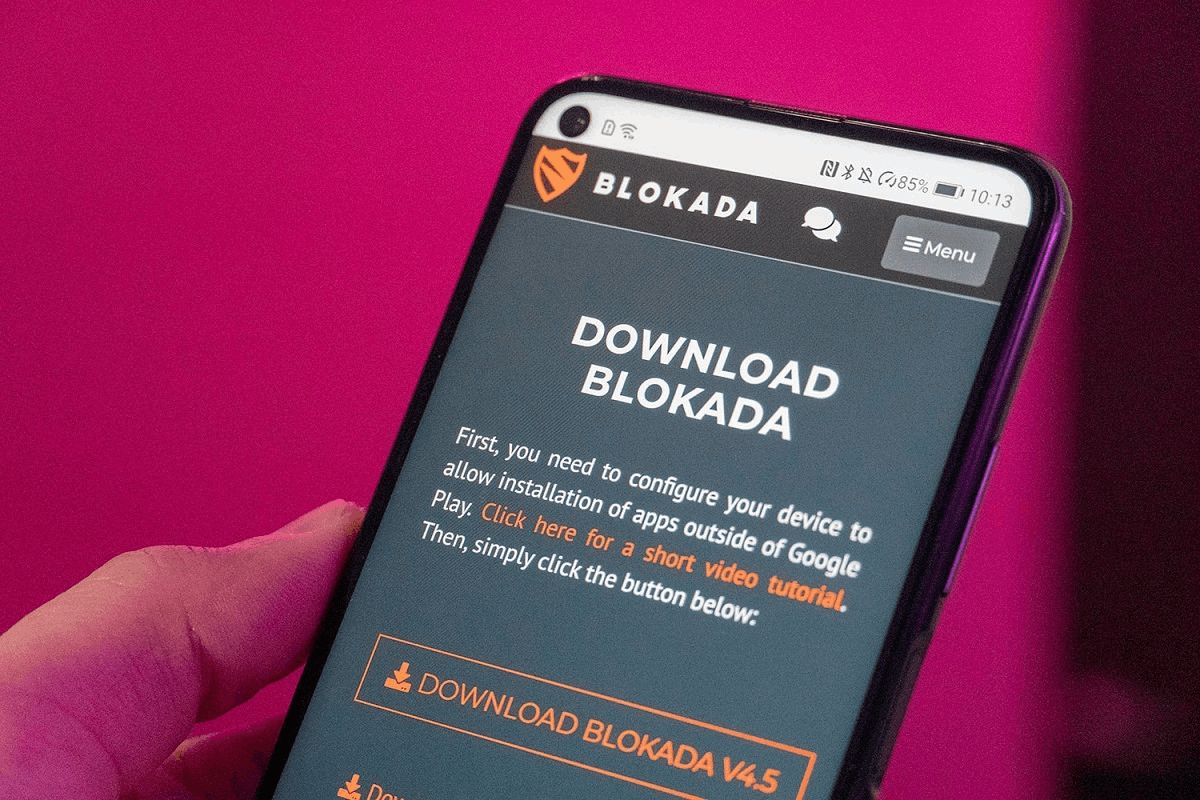
The Blokada app is free to be downloaded on the Apple App Store. Although the app is free to install, it offers in-app purchases and a premium subscription for exclusive perks and features.
The app requires relatively newer versions of operating systems for its compatibility. Blokada works best when installed on devices running on OS 14.0 or later.
Also read: MaxSpeed App – Protect Phone’s Security and Privacy
Grant Permissions to the Blokada App
Since the app has great features, I wanted to know first what I need to give Blokada my permission for it to run smoothly on my mobile device. The app mentioned that upon installing it, and I automatically gave it permission to access different functions and features of my phone.
First, the app must access my device and app history to retrieve running apps and read sensitive log data. It also needs to access my precise location through GPS and network-based ways. Blokada wants to read my phone status and identity as well.
The Blokada app asks me to read, modify, and delete the content of my internal file storage, including the media files. In addition, the app needs to access my Wi-Fi connection information and device ID and call information.
Moreover, the Blokada app wants to interact with users, view network connections, have full network access, run at startup, control vibration, prevent the device from sleeping, and set the alarm.
Reading the Blokada’s Privacy Policy
Even though the Blokada app promises to protect my privacy through external threats, it is equally important to understand how the app protects my privacy internally. I looked into the app’s Privacy Policy.
The app listed all the personal information it needs to process: payment data (card type, origin country), name, mobile network carrier name, and Wi-Fi network SSID.
However, Blokada ensures that they permanently delete the data once they are done processing it, especially the payment information. Lastly, Blokada mentions that they share the collected information with third-party services to improve the app's services.
Explore Blokada App’s Tabs
One striking feature of the Blokada app is its relatively dark theme. Moreover, the app has a minimalist user interface, making exploring easier.
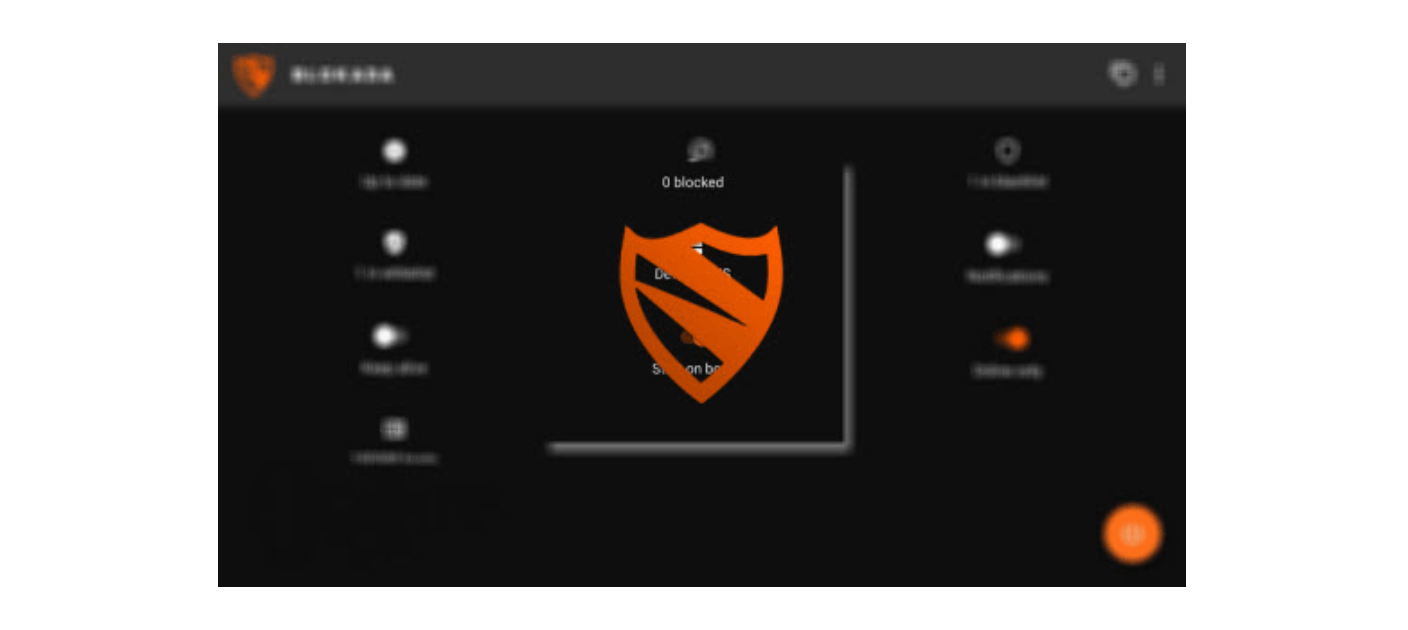
The Blokada app has four main tabs at the bottom of the screen: Home, Activity, Advanced, and Settings. The Home tab contains the button to activate the “Blokada” feature that automatically blocks ads and websites.
The Activity tab lets me check my browsing history, wherein the Blokada app reports the number of ads it detected and blocked. It also displays the identified potential security risks from specific websites that may be caused by malware.
Meanwhile, the Advanced tab contains the following options and features: Blocklists, Exceptions, Apps, and Networks. The last tab is Settings, which allows me to check my account on Blokada and learn more about the app.
Activating Blokada
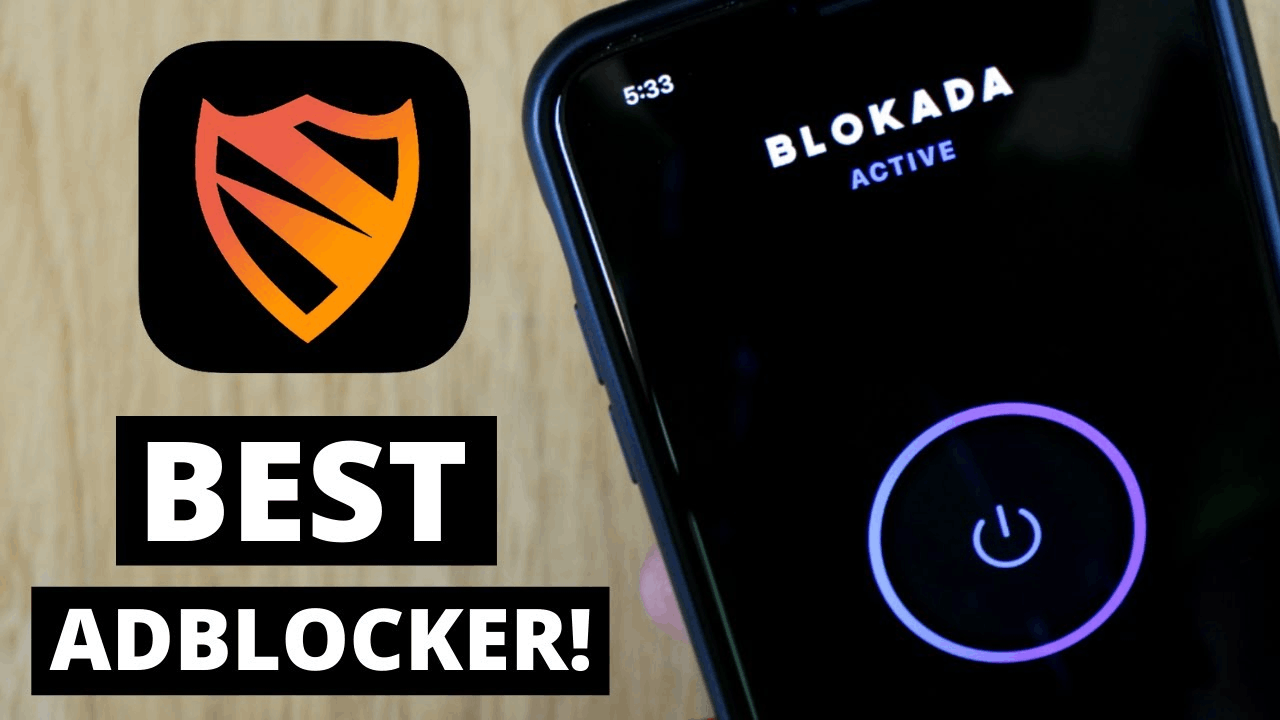
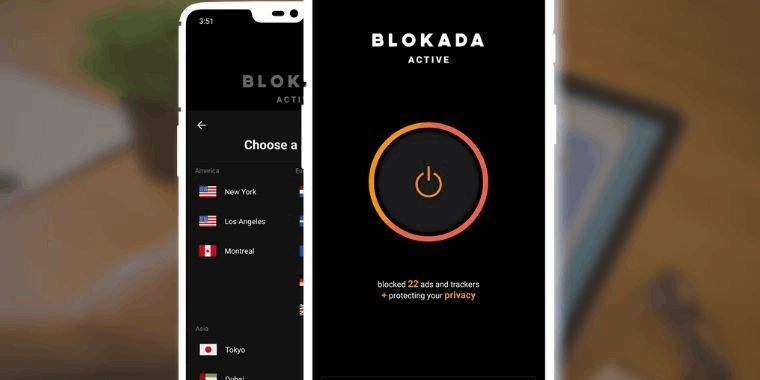
The Blokada app provides the “Blokada Activation” button to turn on its ad-blocking feature. I have to manually tap on the button to activate or deactivate it. It only takes one tap to enable the features.
On my first try at activating Blokada, it asked me to allow its VPN configuration to block ads. The connection request entails that I will permit the app to set up a VPN connection that allows the app to monitor the network traffic.
A “key” icon will appear on my phone screen to indicate that the VPN is active. A blue ring on the Blokada button means that it is working.
Also read: SurfFast VPN – How to Use this App
Know the Available Blocklists Services on Blokada
As mentioned, the Blokada app blocks not only ads but also websites. This is made possible by different blocklists services available on the app. I can manually activate the blocklists services that I want the app to use when blocking any suspicious entity.
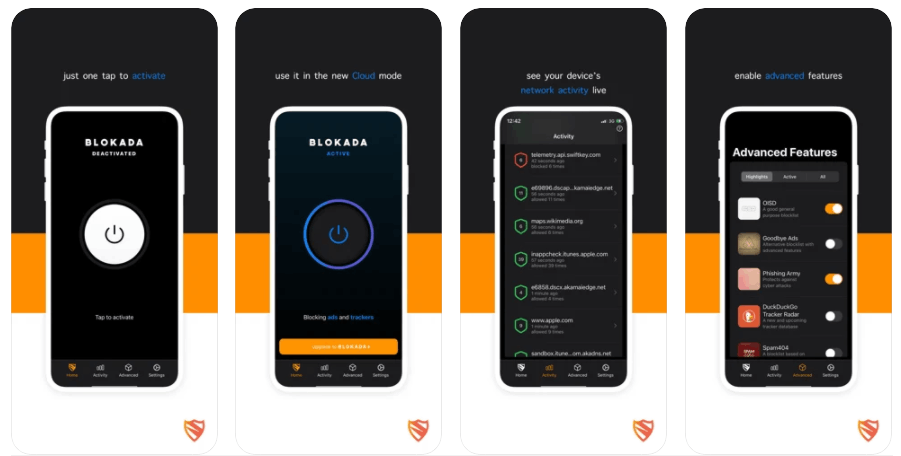
The more services I turn on, the more security blankets I will have while browsing. The app has the following blocklists services: OISD, Energized, Steven Black, Goodbye Ads, AdAway, Phishing Army, DuckDuckGo Tracker Radar, Blacklist, Exodus Privacy, Developer Dan’s Hosts, and many more.
However, the app already chose some of the services it said I could trust, such as Spam404, URLhaus, and Phishing Army. The Blokada app lists the active services so I can track which are currently being used.
Before choosing among these services, I had to read and understand the specific services, like blocking websites and mobile ads and not interfering with normal apps and services.
Adding Websites on the Exceptions Lists
Once I turned on several blocklists services on Blokada, it can automatically block apps and websites that show even the most minute suspicious activity.
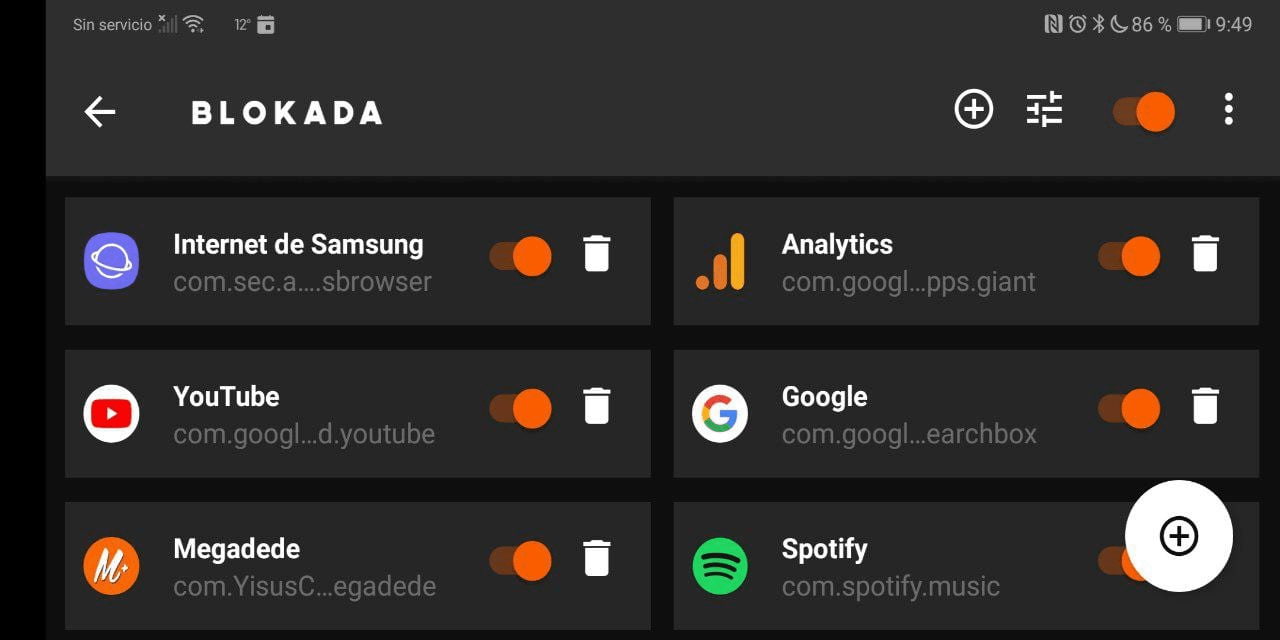
Although, there are times that I badly need to open a website or mobile app’s feature. Blokada understands this dilemma, so it provided the “Exceptions” feature.
I can manage particular websites and app blocks with this feature by adding them to the Exceptions list.
Block Ads on Mobile Apps Through Blokada
Another feature of the Blokada app is it covers all the ads on installed apps on my mobile phone. The app does not stop with the browser that I use but also the apps I use.
I find this extremely helpful to have a disruption-free usage of these apps, especially the shopping and social media apps. Normally, there are so many intrusive and pop-up ads.
Like the ones mentioned on the Exceptions list, the app lets me choose the apps that should never be blocked so I can use them freely.
Sometimes the Blokada app blocks the app itself by preventing me from launching it because of the potential threats Blokada identified.
Changing Default Settings Depending on Network Connection
The Blokada app supports adjusting the blocking feature when using Wi-Fi and mobile networks. Even though the app has default settings, I can adapt them to make the app behave differently depending on the network connection.
I can adjust the DNS encryption, the used DNS, force Libre mode, and user prefer network DNS. I liked this feature because I can duly adjust the app’s features depending on my internet connection. I have different browsing patterns, whether I use a Wi-Fi connection or a network connection.
Also read: How to Get Free WiFi on Mobile
Learn About Blokada+ — The App’s Premium Subscription
The Blokada app uses the freemium model, wherein I can enjoy its basic features and services for free. This free version of Blokada is called “Libre.” However, the app also offers a premium subscription — Blokada+.
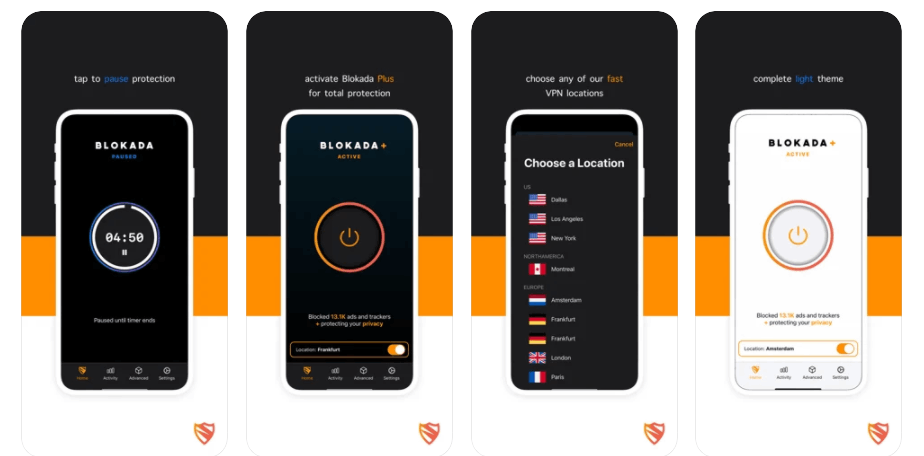
Blokada+ costs $34.99 for a six-month subscription or $61.99 for a one-year subscription. Blokada+ lets me enjoy exclusive perks and features.
First, I can change my location by hiding my ID address and pretending to be in another country to mask from third parties to protect my identity.
It is also possible to encrypt data sent through the VPN tunnel using strong algorithms to protect against interception by unauthorized parties.
The Other Exclusive Features of Blokada+
I can use the same account to share the subscription on up to five devices (mobile and PC). I just need to sign in using my registered Account ID on Blokada once I start my subscription.
Moreover, the Blokada app offers more ad-blocking services to strengthen the feature. Lastly, Blokada promises a prompt response to any questions and concerns through the app’s Customer Support and open source community.
Conclusion
The Blokada app offers an ad-free browsing experience as it automatically blocks ads from the get-go. It has several blocklist services that users can turn on for a stricter and stronger ad-blocking feature.
Aside from ads on websites, the Blokada app also blocks ads from mobile apps that may disrupt whatever the users are doing. Also Blokada+, the app’s premium subscription, has exclusive features and perks.


