

If you are a frequent Instagram user, you must be using the filters feature to enhance your photos' quality. The filters can create a unique effect for your photo, bring out your style, and match your overall theme.
You can also use filters to make your selfie more fun and creative. Several brands and social media influencers use customized filters to attract attention and engage with the audience more.
With the advancement of technology, especially augmented reality (AR), anyone can develop filters for Instagram. If you want to create your own personal filters, check out this guide.
- About Instagram
- How To Download The Instagram App
- How Instagram Filters Work
- How To Create Personal Filters For Instagram
- Choosing Your Effect On Spark AR Studio
- Editing And Publishing A Filter
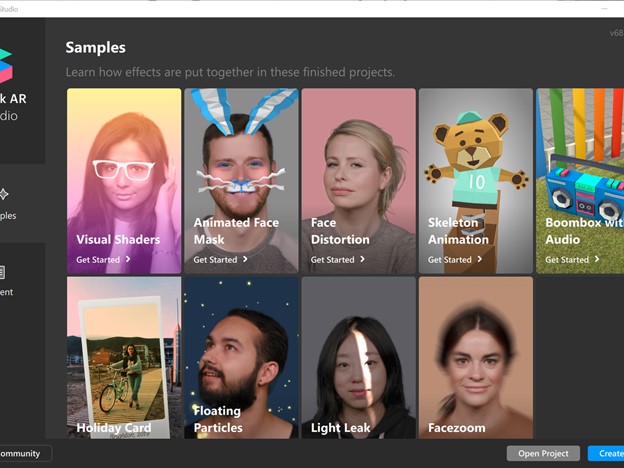
Image Source: The Verge
About Instagram
Instagram, developed by Kevin Systrom and Mike Krieger, is a photo and video sharing platform. Users can upload, edit, and share their media on their page. Photos and videos can be organized using hashtags and location tags.

You can share your posts with the public or with pre-approved followers. Using tags and locations, you can check out the photos and videos of other users. You can also interact with others by liking and reposting their content, following them, and sending them a direct message.
The frame of Instagram for the users’ media increased from 640 pixels to 1080 pixels in 2015. The subsequent features include the ability to upload multiple images or videos in a single post, posts being saved under the “saved” area, and Rooms, which allow four people to go live.
With Instagram Stories, you can post photos or videos and make them accessible to your followers and other Instagram users for 24 hours.
Hashtags And Explore
You can search for photos and videos using hashtags, which specifically describe the subject or the purpose of the photo.
Hashtags lead to “trends,” which are the most popular topics on the platform. Meanwhile, the explore feature refers to the tab that shows popular photos, images taken at nearby locations, and recommended content.
How To Download The Instagram App
You can download Instagram from the App Store to your iPhone. Go to the App Store icon, hit the magnifying glass icon, and then tap the Search icon. Tap the Search box, type “Instagram,” choose Instagram, and then tap Get.

For Android users, tap the Search box at the top of the Google Play Store on your screen. Please type the word Instagram, and when you see the square icon, tap it. Click on the Install button and then Open.
Instagram gained one million registered users in two months, 10 million in one year, and 1 billion as of June 2018. One of the sectors that benefit from the app is businesses and entrepreneurs because the market is easier to reach and engage.
Instagram Shopping statistics reveal that 70% of customers go to the app to look for an item to purchase.
Downloading Third-Party Apps
Instagram allows downloading third-party apps to improve user experience, enhance the content, and help business accounts drive engagement.
Third-party apps help users with scheduling posts, monitoring analytics, and growing followers. These apps include Iconosquare, Buffer, Planoly, Hootsuite, Sprout Social, and Simply Measured.
How Instagram Filters Work
The preset filters on Instagram can be easily applied to your photo or video. When you have already taken or uploaded your material, you can edit it using filters. Tap Next, and then choose the filter that you want.
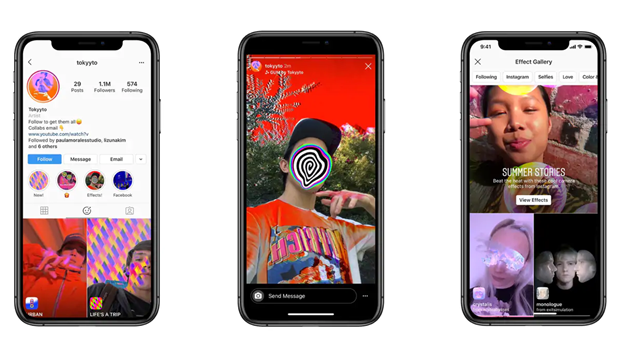
Image Source: The Sun
Tap the filter of your choice. Tap it again if you want the intensify the filter strength left or right.
To save the changes, tap Done. If you want to add your caption or location, tap Next, and then hit share.
Why Filters Matter
Filters are one of the most popular interactive features of Instagram Stories. If you promote your brand on Instagram, filters are a great way to engage your audience, especially the younger generation.
Data showed that 500 million accounts used Instagram Stories every day in 2019, and 67% of Instagram users are aged 18 to 29.
How To Create Personal Filters For Instagram
Did you know that you can create your personal filters for Instagram? Creating your own filter is possible through augmented reality (AR). In August 2019, Facebook launched the program Spark AR Studio to allow users to customize their own Instagram filter.
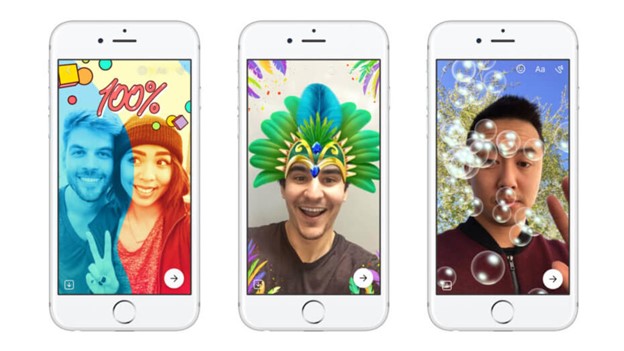
Image Source: VR & Fun
With Spark AR Studio, you can develop a 2D filter for Instagram Stories, Facebook Stories, Messenger, and Portal that resonates with your brand, style, or level of fun. Unlike Instagram’s preset filters, Instagram AR filters are only used for Stories.
The preset filters are used to enhance photos in a few clicks, so you won’t have to edit them. You can download Spark AR Studio to your computer. It is available for both Mac and Windows users. It also comes with a mobile app that you can use to test your face filters, whether you have an iPhone or Android device.
To familiarize yourself with the user interface, it is recommended that you watch the tutorial videos that are available on Spark AR Studio’s website. When you go to the website, you will find the Learn option on the top banner. Clicking on the Learn option will redirect you to the tutorial page, and you will see the videos, notes from editors, and other helpful articles.
The Basics Of Creating A Filter
Once the Spark AR Studio is open, click File, then Create New. Click + Add Object in the Scene panel and then Face Mesh. A black and white checkered mask should appear on your avatar.
Click the plus sign on the Material tab, and the mask should eventually turn from black and white checkered to gray. Go to Help and then Download Face Assets to download the Face Asset map. Open Photoshop and then open the Face Mask to build a new layer and put whatever design you want on top of the Face Mask.
Once you’re done, go back to Spark AR and transfer your file to the Assets panel. Choose the material, and under Texture, select the file name you made in Photoshop. Once you are done with your design, upload it to the Spark AR Hub and submit it for approval.
Choosing Your Effect On Spark AR Studio
The features of Spark AR Studio are curated to cater to the needs of both novices as well as professional Instagram filter creators. Based on your level of expertise, you can choose to create a filter from scratch or work on any of the eight available templates.
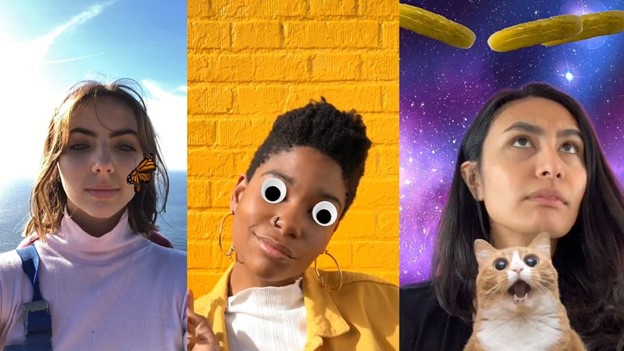
Image Source: Pocket-lint
Once you have chosen your preferred effect, you can now build on it to create the perfect filter. The experts suggest that you should start planning your design with your goal in mind.
When you open the template, you will see a placeholder object in the central panel, which is known as the Viewpoint. In the corner, you will find a Simulator, which resembles the iPhone 8.
You can change the Simulator to any other device by using the drop-down menu. The Simulator will help you to customize the preview of your filter.
The Scene Panel
On your left, you will see the Scene panel, which provides different options for you to use while editing your Instagram filters.
One option allows you to upload a 3D Asset for your filter using the AR Gallery on the Spark AR Tool.
Another option allows you to upload your filters directly from your device, which makes the editing process so much faster.
Editing And Publishing A Filter
You can start making the final edits on your filter using the Scene Panel. Final improvements include selecting the movements and the interactions of the filter in the real-world scenario.

Image Source: Spark AR Studio | Facebook
Some of the common amendments that you can make include the previews in different ambient lighting and animations. Before you publish your filter, you can test its final appearance on both Instagram and Facebook.
During this stage, you will be using a test file, which can be edited again if you wish to make any further changes. Ensure the colors or the motion of your filter that you made on the software are exactly what you will get when you are using your phone.
Approval Of Your Filter
On the bottom left corner, you will find the Upload button. This will direct you to the review and guidelines page. It might take a few days for your filter to be reviewed and finally published.
Conclusion
With Spark AR Studio, you can customize AR effects and other features to make personal filters for Instagram based on your own style, brand, or overall theme. All you have to do is expand your ideas, create your design, and skillfully navigate the Spark AR Studio.
Whether you are a regular Instagram user or a business owner using the social media app as a marketing tool, you get to explore possibilities, exercise your creativity, and add a human touch to technology with filters.


