

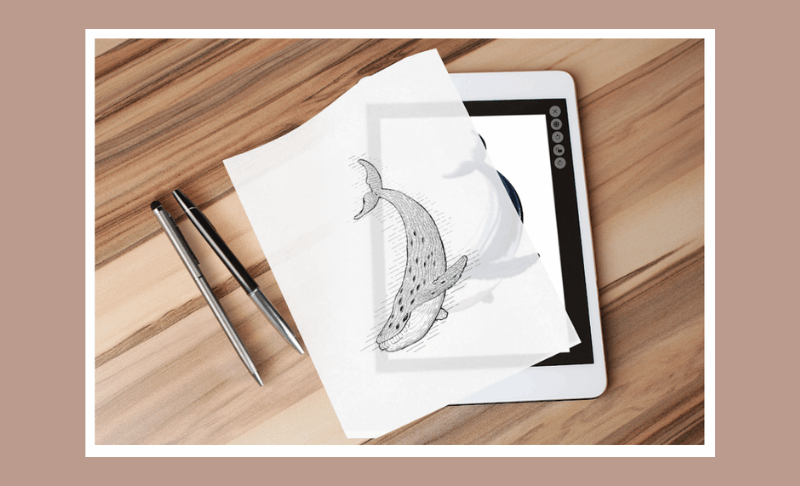
When I was practicing designing, I was advised to start copying images first. It was recommended to me that I should learn to draw by tracing or copying images that I see to work on my stroke techniques.
I discovered a mobile app tool that can be my companion in tracing images from my phone screen to a piece of paper. The Papercopy app is proud to be a useful tool for designers and even kids who wish to trace images.
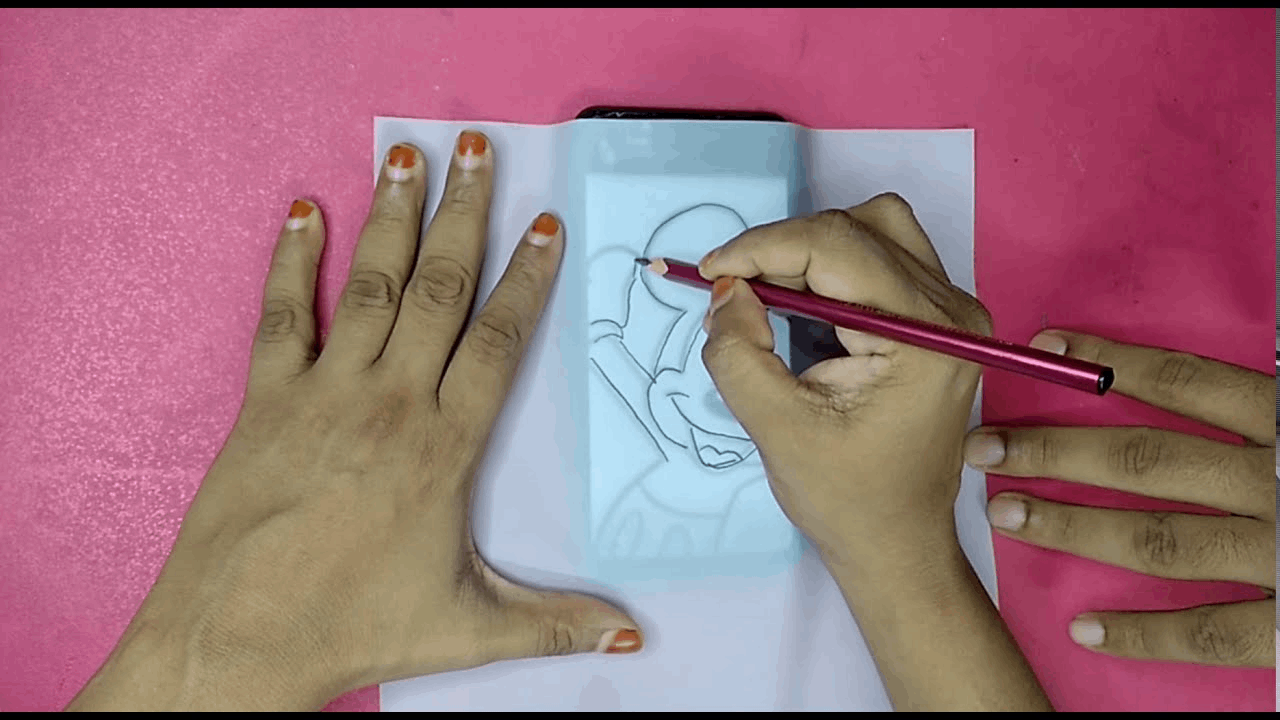
Check out below how I was able to trace photos from my phone and tablet screens onto a piece of paper using the Papercopy app.
- Get to Know Papercopy - The Tracer App
- A Walkthrough of the Tracing Process
- Select an Image to Trace
- Understand the Tutorial for Basic Button Functions
- Adjust Screen Background and Brightness
- Zooming the Image
Get to Know Papercopy - The Tracer App
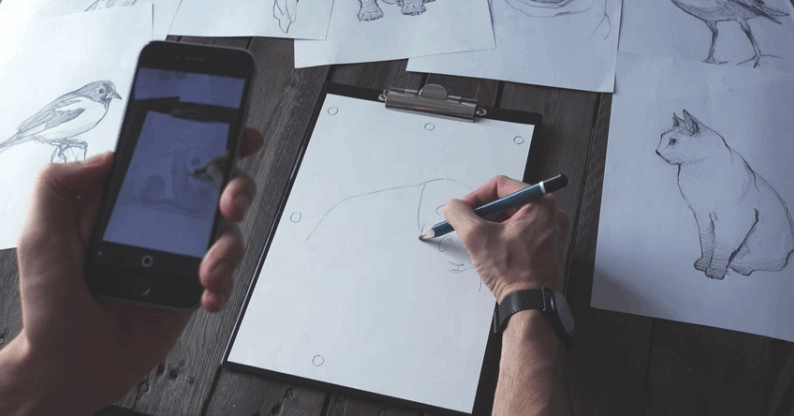
With the help of technology, tracing images is now so easy and saves so much of my time. Aside from searching for the photo or image that I would like to draw, mobile apps help me with the actual tracing process.
I found the Papercopy app through a friend who has been using it since 2018. When I looked into it myself, the app intrigued me because of its high rating and excellent user reviews.
With the app, I can open an image and easily zoom, copy, rotate, adjust, and move the photo for better tracing and drawing.
Discover Papercopy’s Availability, Compatibility, and Pricing
Upon reading the app’s description, I immediately installed it. The Papercopy app is free to download from the Google Play Store.
Đurica Mićunović developed the Papercopy app for Android devices only. The app only supports devices running Android OS 5.0 and up.
Even though the app is free to download, Papercopy has available in-app products. These items will enhance the user experience. The prices of the items range from just $1.49 to $2.99.
A Walkthrough of the Tracing Process
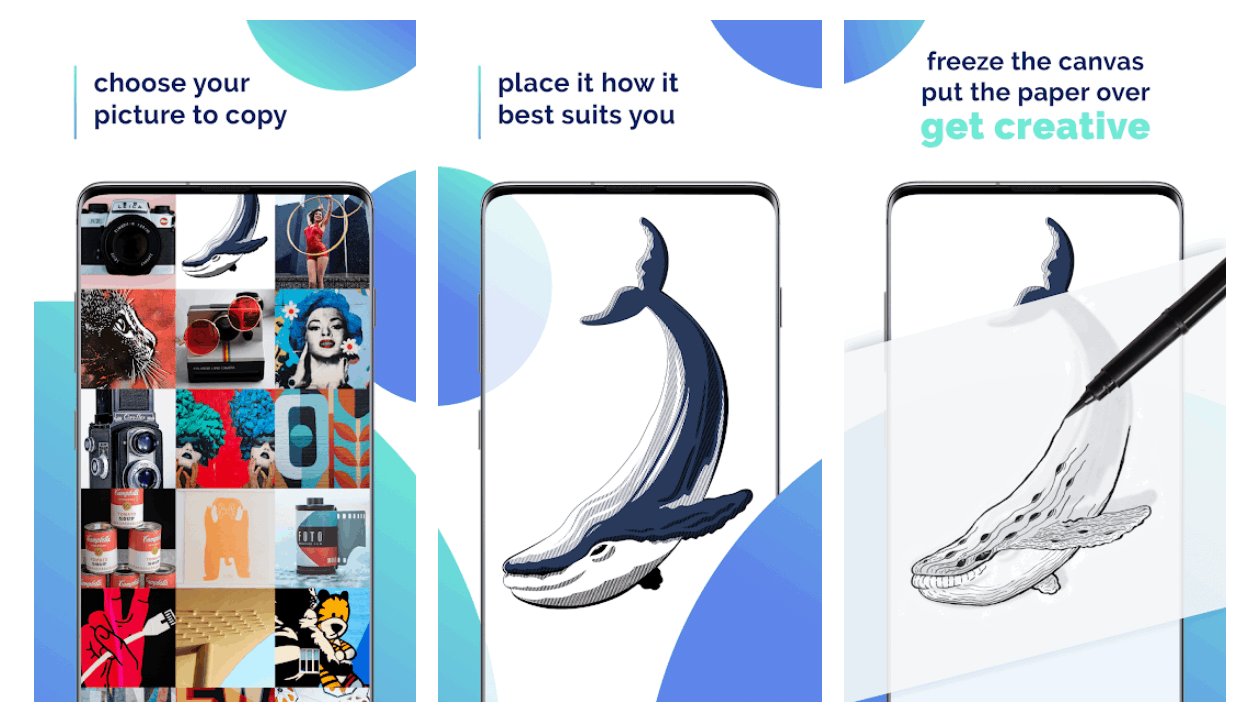
After downloading, the Papercopy app provided a guide or walkthrough on using the app’s tracing features. The step-by-step process is detailed so new users can easily follow it to begin tracing right away.
The first step in tracing is to select the image I want to copy or draw. Then, I must press the volume down button to lock the screen. I can now put paper over the screen and trace the masterpiece.
To exit the tutorial and get started, click the “Finish Tutorial” button to proceed on the app’s home page.
Regular users can skip the tutorial since they already know the process. They just have to tap the Skip button on the upper-right corner of the screen.
Grant Permissions to Papercopy
Since I have to select an image from the gallery that I wish to trace or draw, the app will ask for permission to access files from my phone. I allowed the Papercopy app to access my photos, media, and other files on my storage.
Granting permission entails that the app can open my phone’s gallery and search for media files in other folders in local file storage. In addition, it means that the app can delete and modify any of the files saved on my storage.
The app also asked for permission to access my mobile device’s camera. This is so I can open my camera using the app to take a snap of something I want to trace, especially if it is not yet saved on my gallery.
Select an Image to Trace
As mentioned, the first step in tracing a photo is to select the image from the gallery or file storage. Users should either download or save the photos to the device for easier access on the Papercopy app.

The app’s home page is a gallery of my saved images. I just need to scroll through the images to select those I wish to draw or trace. Based on experience, it is better if the photo was recently saved or taken to see it quickly in the gallery.
There are two ways the app displays the images from my storage. The first one is according to the recency of the images. The app arranges the photos wherein the most recent ones are on top of the gallery, while the old ones are at the bottom, so I have to scroll down.
The second option is to view the photos according to their original folders. In this way, I can easily find the image I want to trace as long as I know which folder it is saved in on my device. The view options can be found on the lower-left corner of the app’s home page.
Taking a Photo with the Papercopy App
The Papercopy app supports taking photos in real-time, which I can immediately use for tracing and drawing. I just have to tap the camera icon on the lower right corner of the screen.
After tapping the icon, the app opens the camera, and I can use the functions the same way I would use my phone’s camera. The app also supports all the features and tools on my phone’s camera, such as flash, mode, aspect ratio, and timer, among others.
In addition, I do not have to worry about using the app while on a headset. Papercopy allows me to capture images even while listening to music or calling. I just have to press the answer key on the headset to take photos.
Understand the Tutorial for Basic Button Functions
One thing I liked about the Papercopy app is that it is very user-friendly. It assists its users in never getting lost when using the app’s features.
Once I select the photo, it automatically provides a tutorial on using the features and actions. The pop-up tutorial mentions that I can lock and unlock the canvas by tapping on the “lock” icon.
Pressing the volume down button will also have the same action. Locking the canvas means that it will not move, rotate, zoom, or change while I'm tracing. I lock the canvas once I am ready to trace.
Meanwhile, the volume up button can show or hide actions or the toolbar. The tutorial pops up every time, but I have the option to not show it again in the future since I am already familiar with the buttons and their corresponding actions.
Rotate Images
One of the things I can do from the toolbar provided by the Papercopy app is to rotate the image.
I can easily choose whether to rotate the image clockwise or counterclockwise. It is important to rotate the image to make the tracing process easier.
For portrait images, I make sure that they are not rotated in a landscape position because it will affect the length of the image. This also goes with the landscape-oriented photos.
Adjust Screen Background and Brightness
It is important to consider the screen when tracing because it will dictate how easy or difficult the tracing will be. I need to make sure that the image displays clearly on the screen to copy even the tiniest details.
The Papercopy app recognizes this need, and its screen features let me change the color of the background and adjust the screen brightness.
For the background color, I must select the contrast color of the image. Since the goal is to make the image pop out, I need to see which colors, black or white, will highlight the details of the image.
The screen brightness feature is found under the bulb icon. The app provides a bar that I can easily adjust to find the perfect brightness of the screen.
Move Photos
Besides rotating and changing the background and brightness, I can also move the photo freely. The app is highly intuitive, so it automatically centers the image it thinks best suits the photo.
However, as a designer, there are just certain parts of an image that I wish to copy to highlight specific elements or details. I can easily move the photo on the screen by dragging it left or right.
Zooming the Image
Sometimes I don't want to trace the entire image but a certain aspect of it. The Papercopy solution for this is its zoom feature.
I can set the zoom level for the photo by typing in the numerical value. Based on experience, I can zoom the photo up to 40,000, which is mindblowing because I can see the tiniest details on the photo.
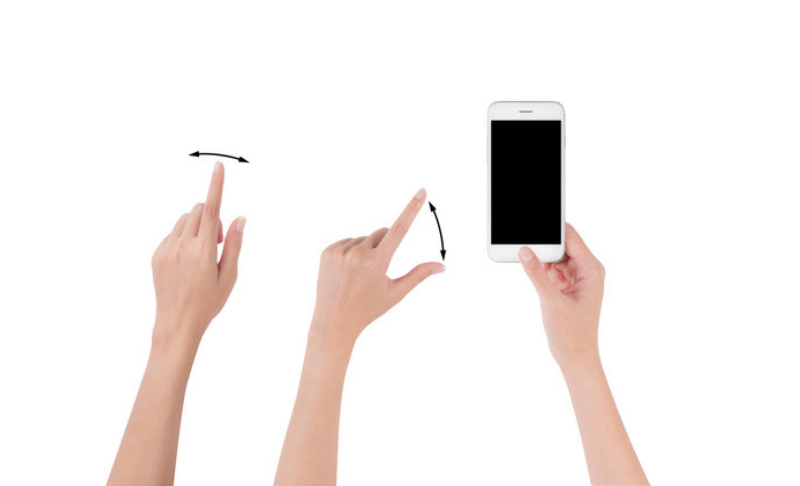
Aside from typing the numerical value, I can manually zoom in and out on the image using the pinching gesture.
I can pinch my first finger and thumb on the screen to zoom in while moving these fingers in the opposite direction zooms out.
Recenter the Photo
Since I can play around with the photos in terms of zooming and moving, there will be instances that it will no longer be centered.
Instead of manually resetting the image or choosing the image again, I can just tap the “Recentering” button.
The app automatically recenters the image with its default zoom level with just a single tap.
Conclusion
As a budding designer, I needed a tool that could help me trace photos for my drawings. The Papercopy app helps me easily trace photos from my phone screen to paper. It has tools to play around with the image like rotating, moving, zooming, and recentering.


